 Children always get excited about the different weather patterns, but they can get confused. Often, it’s a good idea to use weather activities to help kids understand what is happening. They learn something, but they can also have fun and do experiments. With the newest technological advancements available, it’s easy to forget the magic of weather. Get back to basics with your children and help them understand what comes from the sky. Then, share this list with relatives, friends, coworkers, and neighbors to remind others what the weather does for them.
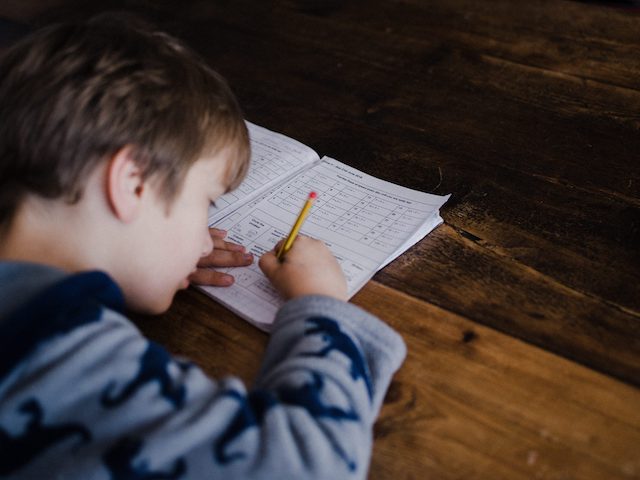
~ Create a Weather Journal ~
What You Need
* Scissors
* Construction paper (or other papers)
* Crayons
* Glue
* Preprinted labels (or have the child make their own)
* Pages to record weather conditions
How to Do
Have the child fold one piece of construction paper in half so that it makes a book cover. Find a bunch of paper to be recording pages. Use notebook paper or smaller pieces of construction paper here. Staple those in the middle of the ‘cover.’
Let the child use the scissors (if appropriate) to cut out raindrops, clouds, snow, and sun. The child can glue all of these things onto the cover wherever they decide. They can also draw things like fog, wind, or snow.
Since the labels are already made, let the child glue those to the cover. Alternatively, the child can write the tags themselves if they know how. Each day, let them describe the weather outside.
Age – Children aged 5 and up
* Younger kids might be able to pick from the pictures and draw things
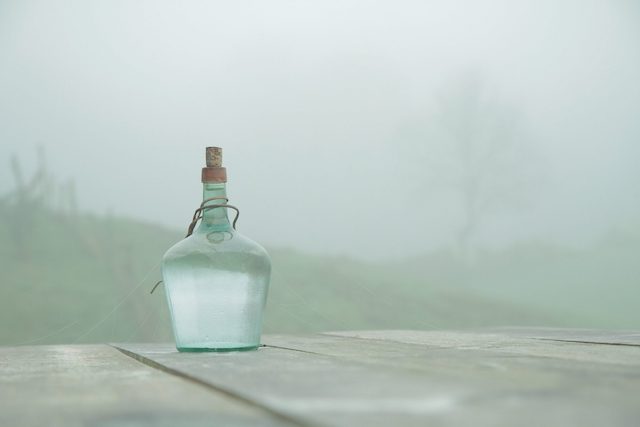
~ Watch Some Fog ~
What You Need
* Ice cubes
* Water
* Small strainer
* Glass jar
How to Do
Use hot water to fill up the jar completely and wait about a minute. Pour almost all of the water out except 1 inch. Put a strainer on top of the container and add about three to four ice cubes to the strainer. The water condenses because of the cold ice cube air colliding with the jar’s moist, hot air. Therefore, fog forms.
Age – For toddlers, ages 2 and upward
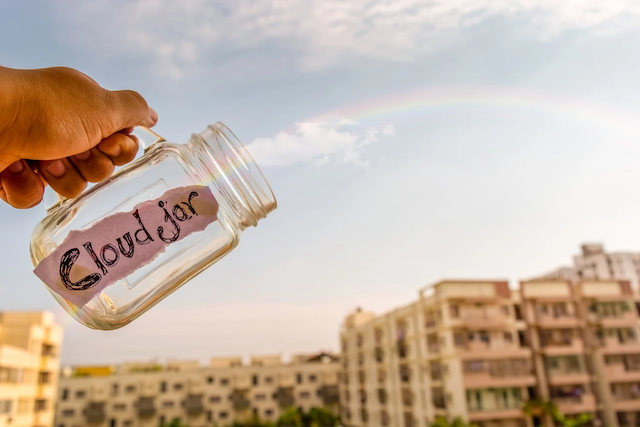
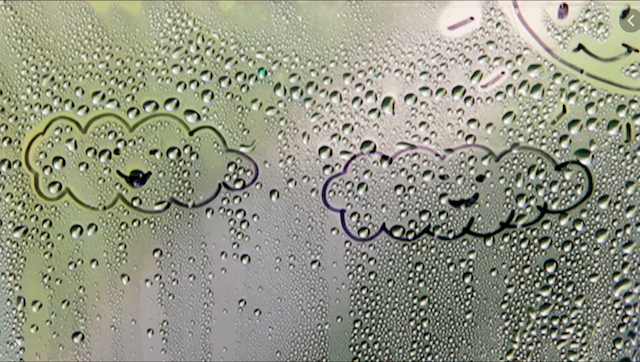
~ Cloud in a Jar ~
What You Need
* Food coloring
* Shaving cream
* Clear plastic or glass cup
How to Do
Fill up the cup with water. Squirt a few blobs of shaving cream on top to look like clouds. Explain to the child that the cloud gets heavy with time, so it causes it to rain. Add some blue food coloring to the top of the shaving cream clouds so that it rains.
Age – Toddlers from age 1 and up
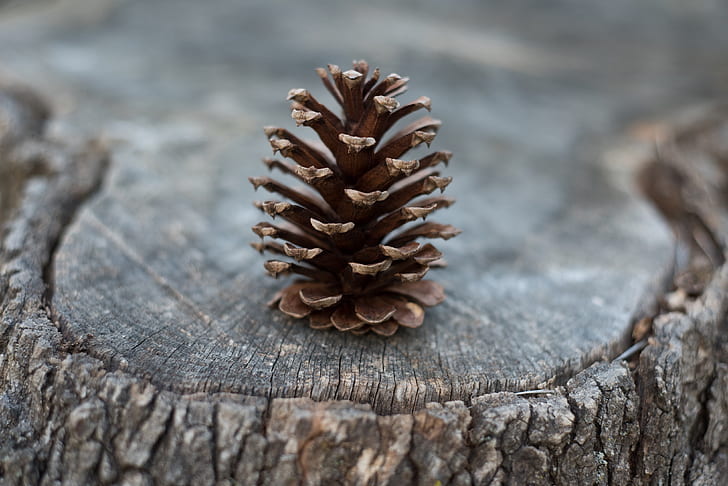
~ Predict the Rain ~
What You Need
* Journal
* Pinecones
How to Do
Every day, observe the weather and pinecones, trying not to move them. The pinecones tend to stay open when there is dry weather. However, when it’s going to rain, they close up. This is an excellent way to discuss weather predictions with children. Pine cones open and close because of the humidity to assist with seed dispersal.
Age – Toddlers, aged 2 and up
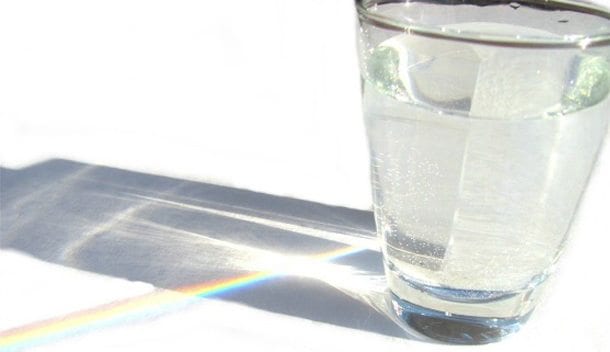
~ Reflect a Rainbow ~
What You Need
* Sunlight
* Piece of white paper
* Glass of water
How to Do
Fill up the glass with water – all the way to the top. Put it on a table, but make sure that half of the glass is off the edge. It’s important to ensure that the glass isn’t going to fall.
Now, make sure that the sun shines through the glass and put a piece of white paper on the carpet or tile. Adjust the paper or the water glass until there is a rainbow formed on the paper.
Explain to the child that light gets made up of various colors, such as green, yellow, indigo, violet, blue, orange, and red. When the light passes through the glass and water, it breaks up into every color in the rainbow.
Age – Toddlers, 2 years and up
* Older children might understand the concept better
~ Create Lightning in Your Mouth ~

What You Need
* Wintergreen LifeSavers
* Dark Room
* Mirror
How to Do
Turn off all the lights within the room and wait until the eyes are adjusted to the darkness. Have the child bite into a wintergreen LifeSavers candy while looking at themselves in a mirror. Chew with the mouth open and see the candy glitter and spark.
What happens? The chewing causes the light to be made with friction called triboluminescence. As the candy gets crushed, the stress ends up creating an electric field, just like electricity from a lightning storm. As the molecules recombine with the electrons, light gets emitted. The wintergreen candy converts the ultraviolet light into a visible blue light to make it easier to see the ‘lightning.’
Age – Children aged 6 and up
* Make sure children can eat hard candy safely
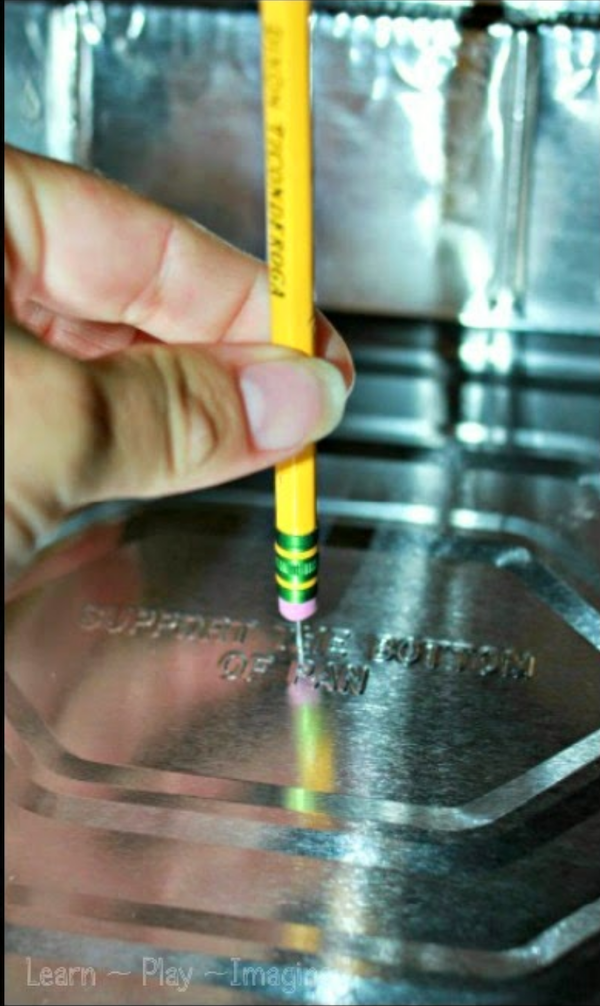
~ Create Lightning Yourself ~
What You Need
* Thumbtack
* Pencil with eraser
* Styrofoam block
* Wool sock
* Aluminum pie tin
How to Do
Push the thumbtack into the aluminum pie tin’s center and go from the bottom first. Push the eraser’s end of the pencil into the thumbtack. Now, put the Styrofoam block on the table. Rub the block quickly with a wool sock for a few minutes. Use the pencil as the handle to pick up the pie tin and put it on the Styrofoam block. Ask the child to touch the pie pan with their finger. They get a shock. If nothing happens, rub the Styrofoam block some more.
Consider turning out the lights before picking up the pie tin and touching it. This produces a spark similar to lightning.
It’s called static electricity. Lightning occurs when negative charges at the bottom of the cloud get attracted to positive charges in the ground. As the child touches the pie plate, it’s like a small lightning bolt.
Age – Suitable for children 10 and older who aren’t afraid of static electricity shocks
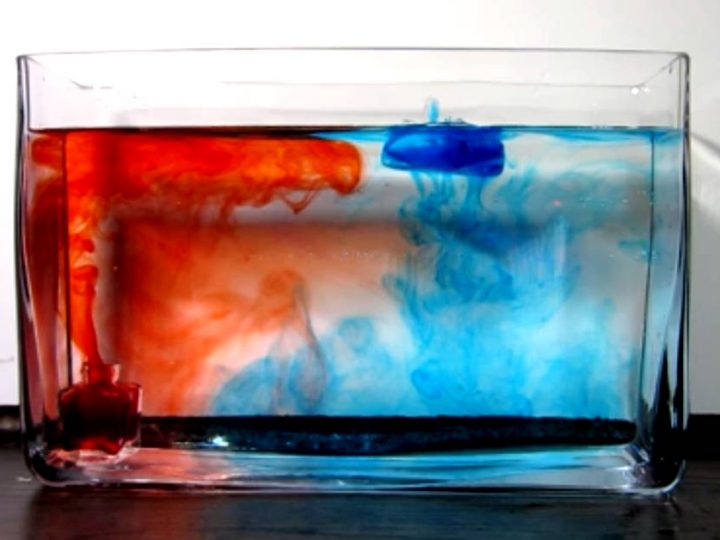
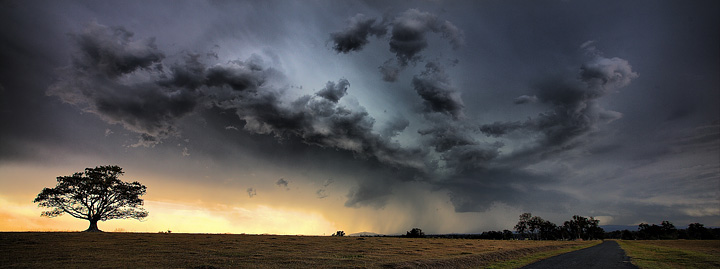
~ Make a Thunderstorm Front ~
What You Need
* Red food coloring
* Ice cubes with blue food coloring tint
* Clear plastic container (shoebox size)
How to Do
Fill up the plastic container with two-thirds of warm water (not hot.) Let it sit for around a minute so that it comes back to air temperature. Place one of the blue-colored ice cubes at one end of the plastic box. Add three drops of some red food coloring into the container opposite the ice cube. Watch as it creates a storm.
The blue cold water represents the cold air mass, and it sinks when the red, warm water rises. It’s called convection; the warmer air gets forced to the top by the cold front, forming a thunderstorm.
Age – All ages can appreciate the changes within
* Children 8 years and older can perform the experiment and understand the concepts
~ Track a Thunderstorm ~
What You Need
* Journal
* Stopwatch
* Thunder
How to Do
Wait until a lightning flash occurs and start the stopwatch or timer immediately. When thunder is heard, stop the timer. Let the child write down the number shown. For every five seconds, the storm itself is one mile away. Divide that number by five to see how far away the lightning is. Light travels faster than sound, so it takes longer to hear thunderclaps.
Age – 8 years old and up
* Younger children can operate a stopwatch, but 8-year-olds often start learning division
~ Grow a Snowflake ~
What You Need
* Pencil
* Borax
* Boiling water
* Blue food coloring
* White pipe cleaners
* Wide-mouth jar
* String
How to Do
Cut the white pipe cleaner into three even pieces. Twist the sections together at the center to create a six-sided star. Ensure that the star lengths are equal by trimming them with scissors. Use the string to tie it to the pencil. Fill up the jar carefully with boiling water (adults do this). For every cup of water added, put in 3 tablespoons of the Borax, adding a single tablespoon at a time. Stir it up until it’s dissolved. Some Borax might settle at the base, and this is okay. Add some food coloring and hang the entire snowflake into the jar. Let it sit overnight and remove it.
Age – Children aged 5 and up (adult supervision required)
~ Create a Tornado ~
What You Need
* Duct tape
* Glitter
* Food coloring
* Water
* Two 2-liter plastic bottles (clear, empty, dry, and clean)
How to Do
Fill up one of the 2-liter bottles with water, about two-thirds full. Add some food coloring and a little glitter. Use some duct tape to attach the two bottles together. Make sure it’s tightly wrapped so that water doesn’t leak out. Flip the bottles, and the water-filled one is at the top. Swirl the bottles together in a circular motion to create a vortex. A tornado forms at the top as the water goes to the bottom.
Age – Suitable for children aged 5 and up (with adult supervision and assistance)
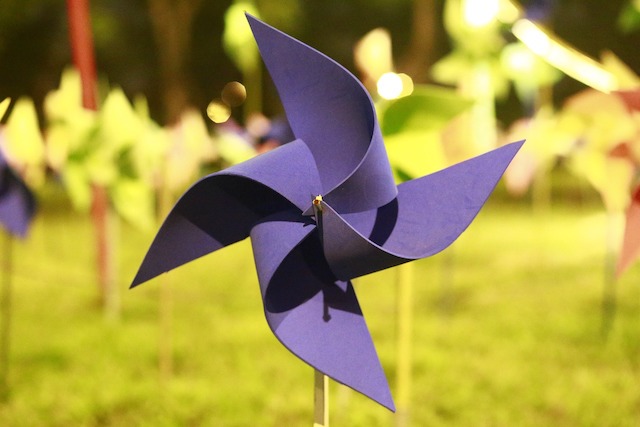
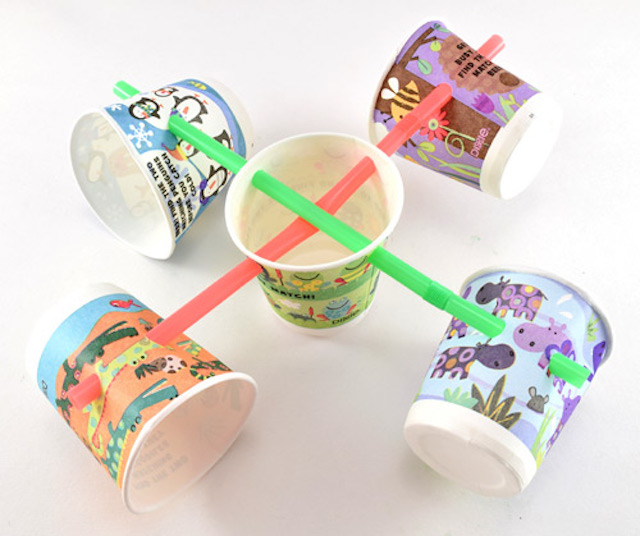
~ Catch Some Wind ~
What You Need
* Scissors
* Needle-nose pliers
* Thumbtack
* Sewing pins
* Small beads
* Glue gun
* Wood skewers
* Construction paper (cut into same-size squares 6×6 inches)
How to Do
Make a pinwheel. Cut the paper if it isn’t already. Poke holes into the center of each piece and to the right of each top corner and the left of each bottom corner. Also, cut from each corner about two-thirds of the way into the paper. Use the needle-nose pliers to bend a sewing pin. Poke it through one of the corner holes, and then the others.
The last step is to poke the sewing pin through the center hole of the paper. You may need to maneuver the paper so that the pin sticks out the back. Add a bead to the back of the bent pin. Use your thumbtack to poke a hole in the skewer close to the end. Put the pin through the skewer hole and rotate until it lies flush with the skewer. Glue everything into place and fill in any cracks on the skewer.
Age – Suitable for children aged 5 and up if the adult makes the pinwheel
* Children ages 10 and up should be able to make their own
~ Make a Magic Snowball ~
What You Need
* Squirt bottles
* Vinegar
* Cold water
* Frozen baking soda
How to Do
Mix up two parts of baking soda with one part of water to make some fluffy and moldable snowballs. Pour some vinegar into the squirt bottles and let the children spray them. From the reaction of the vinegar and baking soda, the snowballs bubble and fizz. To create a snow avalanche, pour some vinegar into the bathtub and drop in a snowball.
Age – Suitable for children aged 3 and up (with adult supervision)
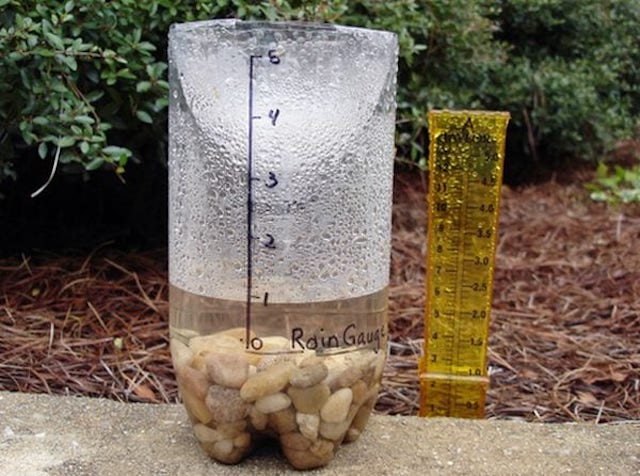
~ Measure Rain Volume ~
What You Need
* Tape
* Ruler
* Scissors
* Water
* Stones
* Sharpie marker
* A 2-liter bottle (empty)
How to Do
To create a rain gauge, cut off the top third of the plastic bottle. Put some rocks in the container’s bottom and pour in water until it just covers the stones. Use masking tape to make a scale (with the ruler) and stick it to the side of the plastic bottle right above the current water line. Turn the top of the bottle (that you cut away) over and put it in the wide hole to be the funnel. Put the bottle outside, so it catches the rain. After the rainfall, check the bottle and see how much there is. Compare it with weather reports for accuracy.
Age – Suitable for ages 5 and up
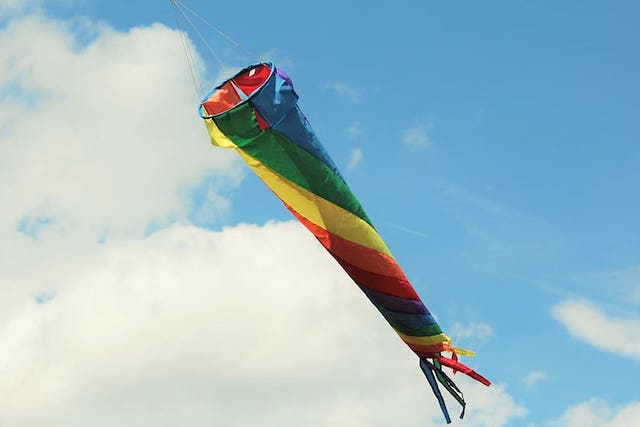
~ Observe Wind Intensity ~
What You Need
* Ribbons and streamers for decoration
* String/yarn
* Clear packing tape
* Plastic container (sour cream or yogurt tub, empty)
* Blue recycle bag
How to Do
Make a windsock by cutting the rim from the plastic container. Wrap the blue recycle bag around the edge, securing it all with tape. Create a single hole inside the bag with a hole punch below the plastic rings. Slide a string through the hole and knot one end, attaching the other to a high rail or post.
Age – Suitable for children age 4 and up
~ Measure Atmospheric Pressure ~
What You Need
* Card stock
* Two drinking straws
* Tape
* Rubber band
* Latex balloon
* Coffee can (empty with the lid removed)
How to Do
This is a DIY barometer. Cut the stiff band off of the balloon and stretch the larger balloon section over the can, securing it with a rubber band. Tape one end of a drinking straw to the balloon’s center so that it hangs off the side. Fold some card stock vertically in half, making marks each quarter inch. Set the barometer next to this card. When the external pressure changes, the balloon bends outward or inward. The straw’s tip moves up and down, as well. Consider taking readings up to six times a day.
Age – Suitable for children ages 10 to 12 and up
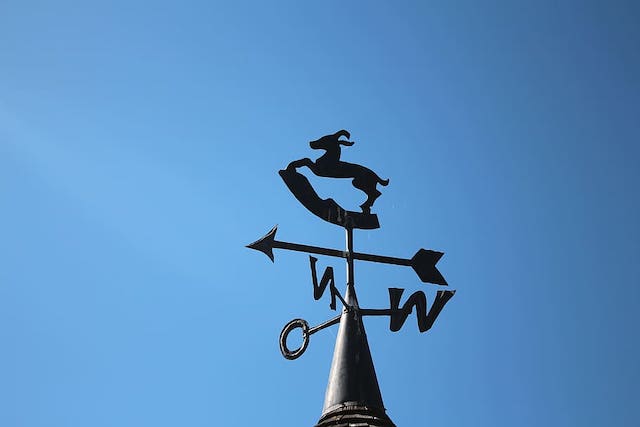
~ Determine Direction of the Wind ~
What You Need
* Construction paper bits
* Paper plate
* Pin
* Straw
* Pencil
* Paper cup
How to Do
Create a weather vane to see the wind’s direction. Poke the bottom of the paper cup with a sharpened pencil. Insert the pin into the middle of the drinking straw and the eraser. Cut about 1-inch deep on both straw ends, ensuring that it goes through both sides. Cut small triangles or squares from the construction paper, slipping one onto each end of your straw. Place the weather vane on a paper plate marked with the directions (North, South, East, West). As the wind starts blowing, the weather vane moves to show the direction.
Age – Suitable for children ages 6 to 7 and up
~ Measure Wind Speed ~
What You Need
* Sharp pencil with eraser
* Stapler
* Scissors
* Paper punch
* Pin
* Two drinking straws
* Five paper cups (each 3 ounces)
How to Do
To create an anemometer, take a single cup and make it the center; punch out four holes around them, making them equally spaced, roughly ½ inch below the cup’s rim. Push the sharpened pencil through the bottom, allowing the eraser to be in the middle of the cup. Stick one drinking straw through the holes of one cup, and the other straw gets pushed through the opposite ways to form the crisscross inside of the cup. Then, press the pin through the straw intersection and go into the eraser for security.
To assemble it all, push one cup onto each end of the straw, ensuring that the cups face the same direction. As the wind picks up, the anemometer rotates. There is no need to point it directly at the wind to use it correctly.
Age – Suitable for children ages 8 and up
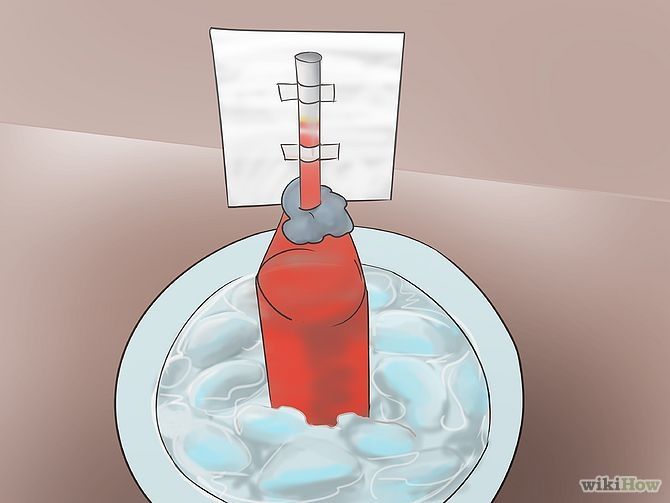
~ Make a Thermometer ~
What You Need
* Food coloring
* Modeling clay
* Clear drinking straw
* Rubbing alcohol
* Water
* Clear plastic bottle
How to Do
Fill up the bottle to ¼ full with equal parts of rubbing alcohol and water. Add some food coloring. Put the straw into the bottle, but don’t let it touch at the bottom. Seal the bottle’s neck with some modeling clay to hold the straw. Let the child put their hands on the bottom of it to see the mixture move up into the straw.
The mixture heats up when the child puts their hands on it, causing the liquids to rise.
Age – Suitable for any age (with adult supervision)
* Older children are going to understand the concept, but young toddlers can enjoy the ‘magic’ of the experiment
~ Create a Mini Water Cycle ~
What You Need
* Tape
* Sharpie marker
* Blue food coloring
* Water
* Ziploc bag
How to Do
Pour about ¼ cup of water into the Ziploc bag and add some food coloring. Seal it tightly and then tape the bag to a wall facing the south. When the water warms up in the sunlight, water evaporates. The vapor then cools off and changes into condensation (liquid) like clouds. As the water condenses, the air can’t hold it, allowing water to fall in the form of rain (precipitation).
Age – Suitable for children ages 7 and up, though not all of them are going to understand the concept
~ Conclusion ~
There are so many fun ways for kids to learn about the weather. It’s important to do crafts and experiments with them so that they continue wanting to understand. Save this list or print it so that it’s always available. Share it with others to keep the excitement going.
Written for and published by Climacell ~ November 6, 2020